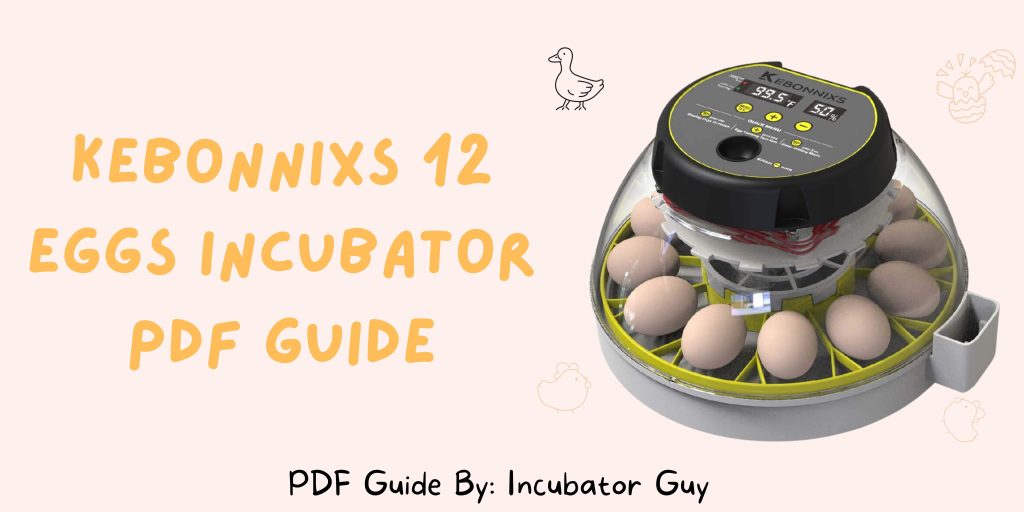
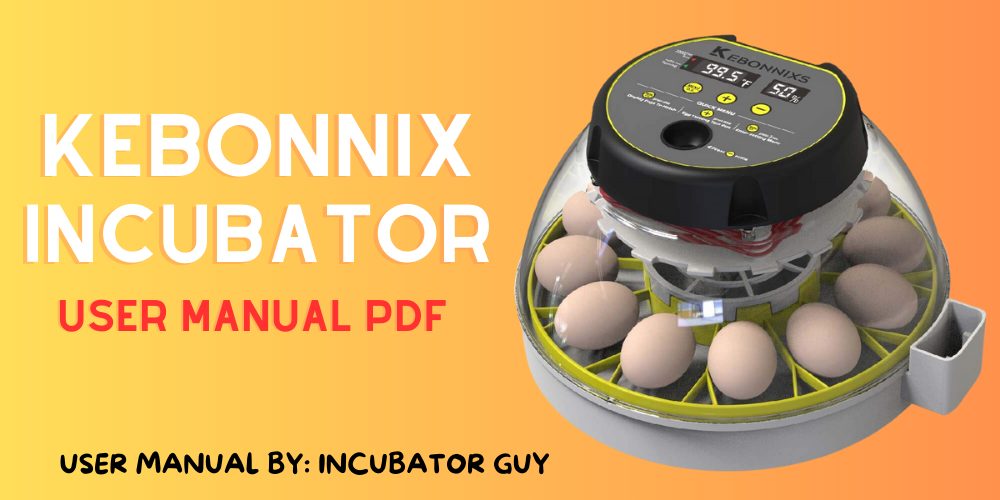
Thank you for choosing the Kebonnixs 12 Egg Incubator. This manual will provide you with important information on how to use and maintain your incubator effectively. Please read the manual carefully before operating the device.
Download Kebonnixs 12 Eggs Incubator Manual PDF

Product Features
Stable Temperature
An induced airflow system driven by a strong circulating fan ensures a stable incubator temperature distribution.
Display Humidity Level
Built-in hygrometer allows you to monitor the incubator humidity level without the need for an additional device.
Built-in Egg Candler
Easily observe the development of eggs without the need for an additional egg candler.
External Water Top-Up
Conveniently add water without opening the incubator lid, preventing temperature fluctuations.
Auto-Stop Egg Turner
The automatic egg turner stops turning the eggs three days before hatching to prevent excess turning.
Specifications
| Product Dimensions | 11.4 x 10.2 x 6.7 inches |
| Weight | 3.68 pounds |
| Model Number | KDI-12 |
| Manufacturer | KEBONNIXS |
| ASIN | B0838VM7C9 |
Safety Instructions
- Before using the incubator, carefully read and understand all the instructions provided in this manual.
- Ensure that the power adapter and all electrical connections are properly installed and in good condition.
- Keep the incubator away from water and moisture to prevent damage and potential electrical hazards.
- Do not attempt to modify or disassemble the incubator. Any modifications may result in malfunction or electric shock.
- Always unplug the power adapter before cleaning or performing maintenance on the incubator.
Installation and Setup
- Connect the power adapter to the 12V power input on the bottom of the incubator base and the power connector on the back of the incubator top black control box.
- Ensure both connectors are securely plugged in.
- Place the incubator in a well-ventilated area away from direct sunlight, drafts, and extreme temperatures.
- Make sure the incubator is placed on a stable surface.
Operating Instructions
- Ensure the incubator is properly connected to the power supply.
- Press the power button located on the control box to turn on the incubator.
- Use the temperature control settings to set the desired temperature for incubation.
- The built-in hygrometer will display the humidity level inside the incubator.
- Fill the external water top-up reservoir as needed to maintain the desired humidity level.
- The automatic egg turner will rotate the eggs every 60 minutes. It will automatically stop turning the eggs three days before the expected hatch day.
- Observe the eggs through the built-in egg candler to monitor their development.
- Refer to the included manual for more detailed instructions on temperature and humidity control.
Maintenance and Cleaning
- Always unplug the power adapter before cleaning the incubator.
- Use a soft, damp cloth to clean the interior and exterior surfaces of the incubator.
- Do not use abrasive cleaners or solvents that may damage the incubator.
- Regularly clean the egg turner, water reservoir, and egg trays to ensure optimal performance and hygiene.
- Gently remove the eggs from the egg turner and place them in a safe location before cleaning the egg turner.
- Use a mild soap solution and a soft cloth or sponge to clean the egg turner, ensuring that all debris and residue are removed.
- Rinse the egg turner thoroughly with clean water and allow it to dry completely before reinserting the eggs.
- Clean the water reservoir by removing it from the incubator and emptying any remaining water.
- Wash the reservoir with mild soap and water, removing any buildup or impurities.
- Rinse the reservoir thoroughly and ensure it is completely dry before refilling it with fresh water.
- Wipe the exterior surfaces of the incubator with a soft, damp cloth to remove any dust or dirt.
- Avoid using harsh chemicals, abrasive cleaners, or solvents, as they may damage the incubator.
- Regularly inspect the power adapter and its connections for any signs of damage or wear. Replace any damaged components immediately.
- It is recommended to clean the incubator after each hatch cycle to maintain optimal cleanliness and performance.
Troubleshooting
- If you experience any issues with your Kebonnixs 12 Egg Incubator, refer to the troubleshooting section of the included manual. Some common troubleshooting tips include:
- Ensure the power adapter is properly connected to a power source and the incubator.
- Check that the temperature and humidity settings are correctly adjusted.
- Verify that the fan and other components are functioning properly.
- If the issue persists, contact our customer support for further assistance.
Warranty Information:
The Kebonnixs 12 Egg Incubator comes with a limited warranty. Please refer to the warranty card included with the product for specific details regarding coverage and terms. Keep your proof of purchase handy in case warranty service is required.
Contact Information
If you have any questions, or concerns, or need further assistance, please contact our customer support team:
Email: faisal@incubatorguy.com
Website: Incubatorguy.com


When the power goes out the incubator starts up again fine but the day countdown starts over. Can i reset it to the correct countdown., and if so How?